Intake Forms on the iPad
How to set up your forms on mobile devices

One of the ways our customers are using IntakeQ is by setting up their intake forms on iPads and giving them to patients in their waiting room, either as their main way to collect patient information or as a backup method for patients who forgot to fill out the intake form online.
Setting up your intake form on the iPad is simple. The final result is an IntakeQ icon that's placed in your iPad home screen. Let's see how to set it up.
1) Select the appropriate intake form
From your iPad, log into IntakeQ, tap on the menu item My Forms and select the intake form you want to use.
2) Navigate to the form URL
In the form editor page, tap on ... and then on Get URL. The popup below will show up. If the first checkbox is unchecked, make sure you check it.

The next step is to click on the link indicated above to open the intake form URL in a new browser tab.
3) Create a home screen icon
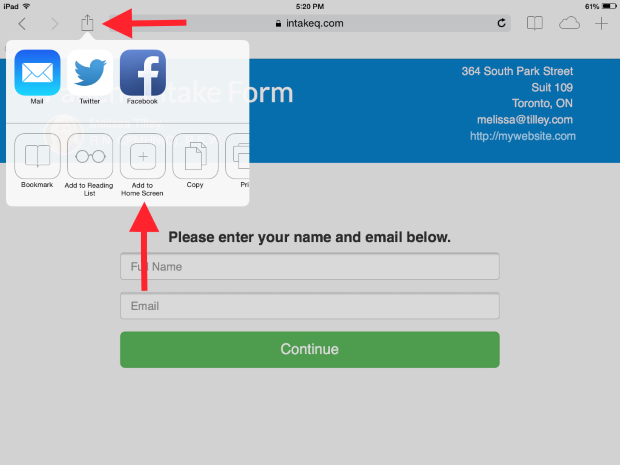
Once you have your intake form page open in the iPad browser, tap on the Share button and then on Add to Home Screen (image below). Before you tap on Ok, you can change the shortcut description. If you have multiple intake forms, use this to differentiate between them.
Now your intake form will be accessible from the iPad home screen. From now on, you just need to tap on the IntakeQ icon and hand the iPad to your patient.
Similar steps can be taken to add your forms to other tablets. As always, get in touch if you need any help.
